First Bowl Guide: From Blank to Finished Bowl
A step-by-step framework for turning your first bowl, from mounting the blank to finishing the foot: tool sequence, chuck setup, and what the first cut is like.
Mount the blank face-side to a faceplate or screw chuck. Rough it round with a bowl gouge at low speed. Shape the outside and cut a tenon at the base. Rechuck on the tenon in a four-jaw chuck. Hollow the inside. Sand, finish, and reverse-chuck to remove the tenon. The sequence is the same on a $369 WEN and a $6,000 Powermatic.
The steps do not change by machine. What changes is the maximum blank size the machine handles and the smoothness of the variable speed control.
What you need before you start
Lathe: Any midi or full-size lathe with variable speed or belt speeds in the 500-1,500 RPM range for a 6 to 8-inch blank. The WEN 3424T or Jet JWL-1221VS both work for a first bowl in this size range.
Chuck: A four-jaw scroll chuck with a spindle insert that fits your lathe’s thread. The Nova G3 is the standard starting chuck. For midi lathes, specify the 1-inch by 8-TPI insert. The full chuck guide covers jaws and inserts.
Faceplate: A 3 or 4-inch faceplate that threads onto your lathe’s spindle. Used for the first mounting.
Tools: A 1/2-inch bowl gouge is the core tool. You will also use a parting tool to cut the tenon and a scraper for the interior finish cut. The first turning tools guide covers these in detail.
Sharpening: All tools must be sharp before you begin. A dull bowl gouge does not cut; it rubs and catches. The sharpening setup guide covers the Oneway Wolverine or similar system for sharpening on a slow-speed grinder.
Blank: A section of hardwood 6 to 8 inches in diameter, 4 to 5 inches tall. Cherry, maple, or walnut firewood works. Cut it in half through the pith (the center of the log) to remove the most crack-prone zone. Use one half per bowl. More on blank selection in the wood for turning guide.
Step 1: Mount the blank on the faceplate
Mark the center of the flat face (the face that was parallel to the tree’s core). Drive a screw through the center of the faceplate into that center mark, then add at least two more screws through the outer holes. The more screws, the more secure. Use screws long enough to bite at least 1 inch into the wood.
Thread the faceplate onto the spindle. Tighten by hand, then use the faceplate wrench if one came with the lathe. Do not overtighten.
Step 2: True the blank at low speed
Set the lathe to its lowest speed. Turn on. The blank will likely wobble. This is normal for a fresh, roughly sawn piece. The first goal is to make it round.
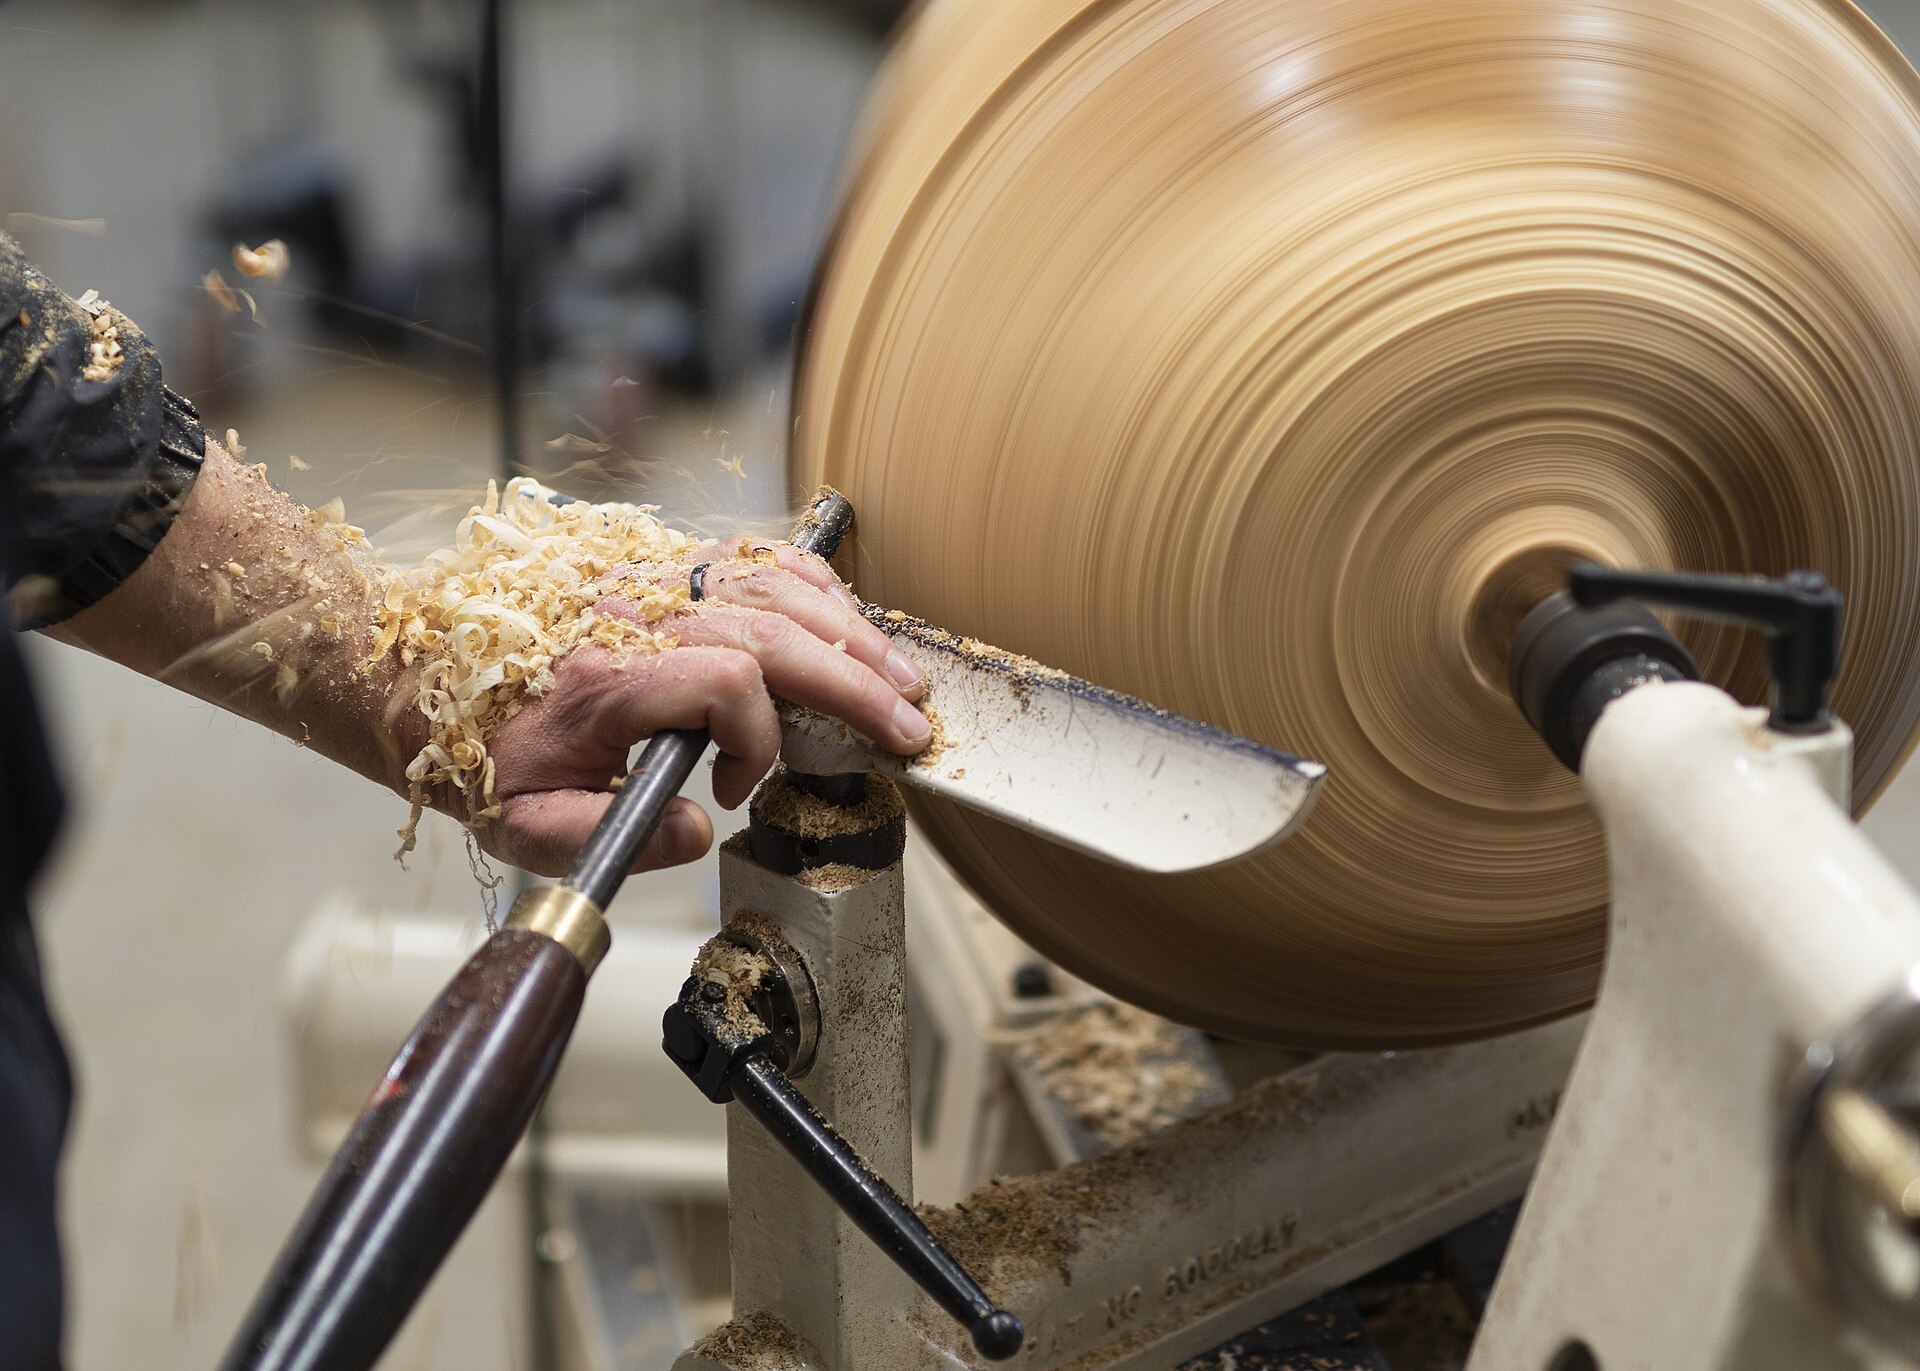
With the tool rest set just below center height and close to the spinning blank (adjust while the lathe is OFF), take light cuts across the outside to bring it to round. Use the bowl gouge with the flute pointing between 10 and 11 o’clock, moving from the base toward the rim. As the blank rounds out, you can increase speed toward the safe range for that diameter. See the lathe speed guide for the formula.
Step 3: Shape the outside and cut the tenon
Once the blank is round, shape the outside profile. A simple curved form is easier than a sharp shoulder or a foot ring on a first bowl. Bowl gouges cut cleanly on an outward-curving exterior; inside curves require different technique.
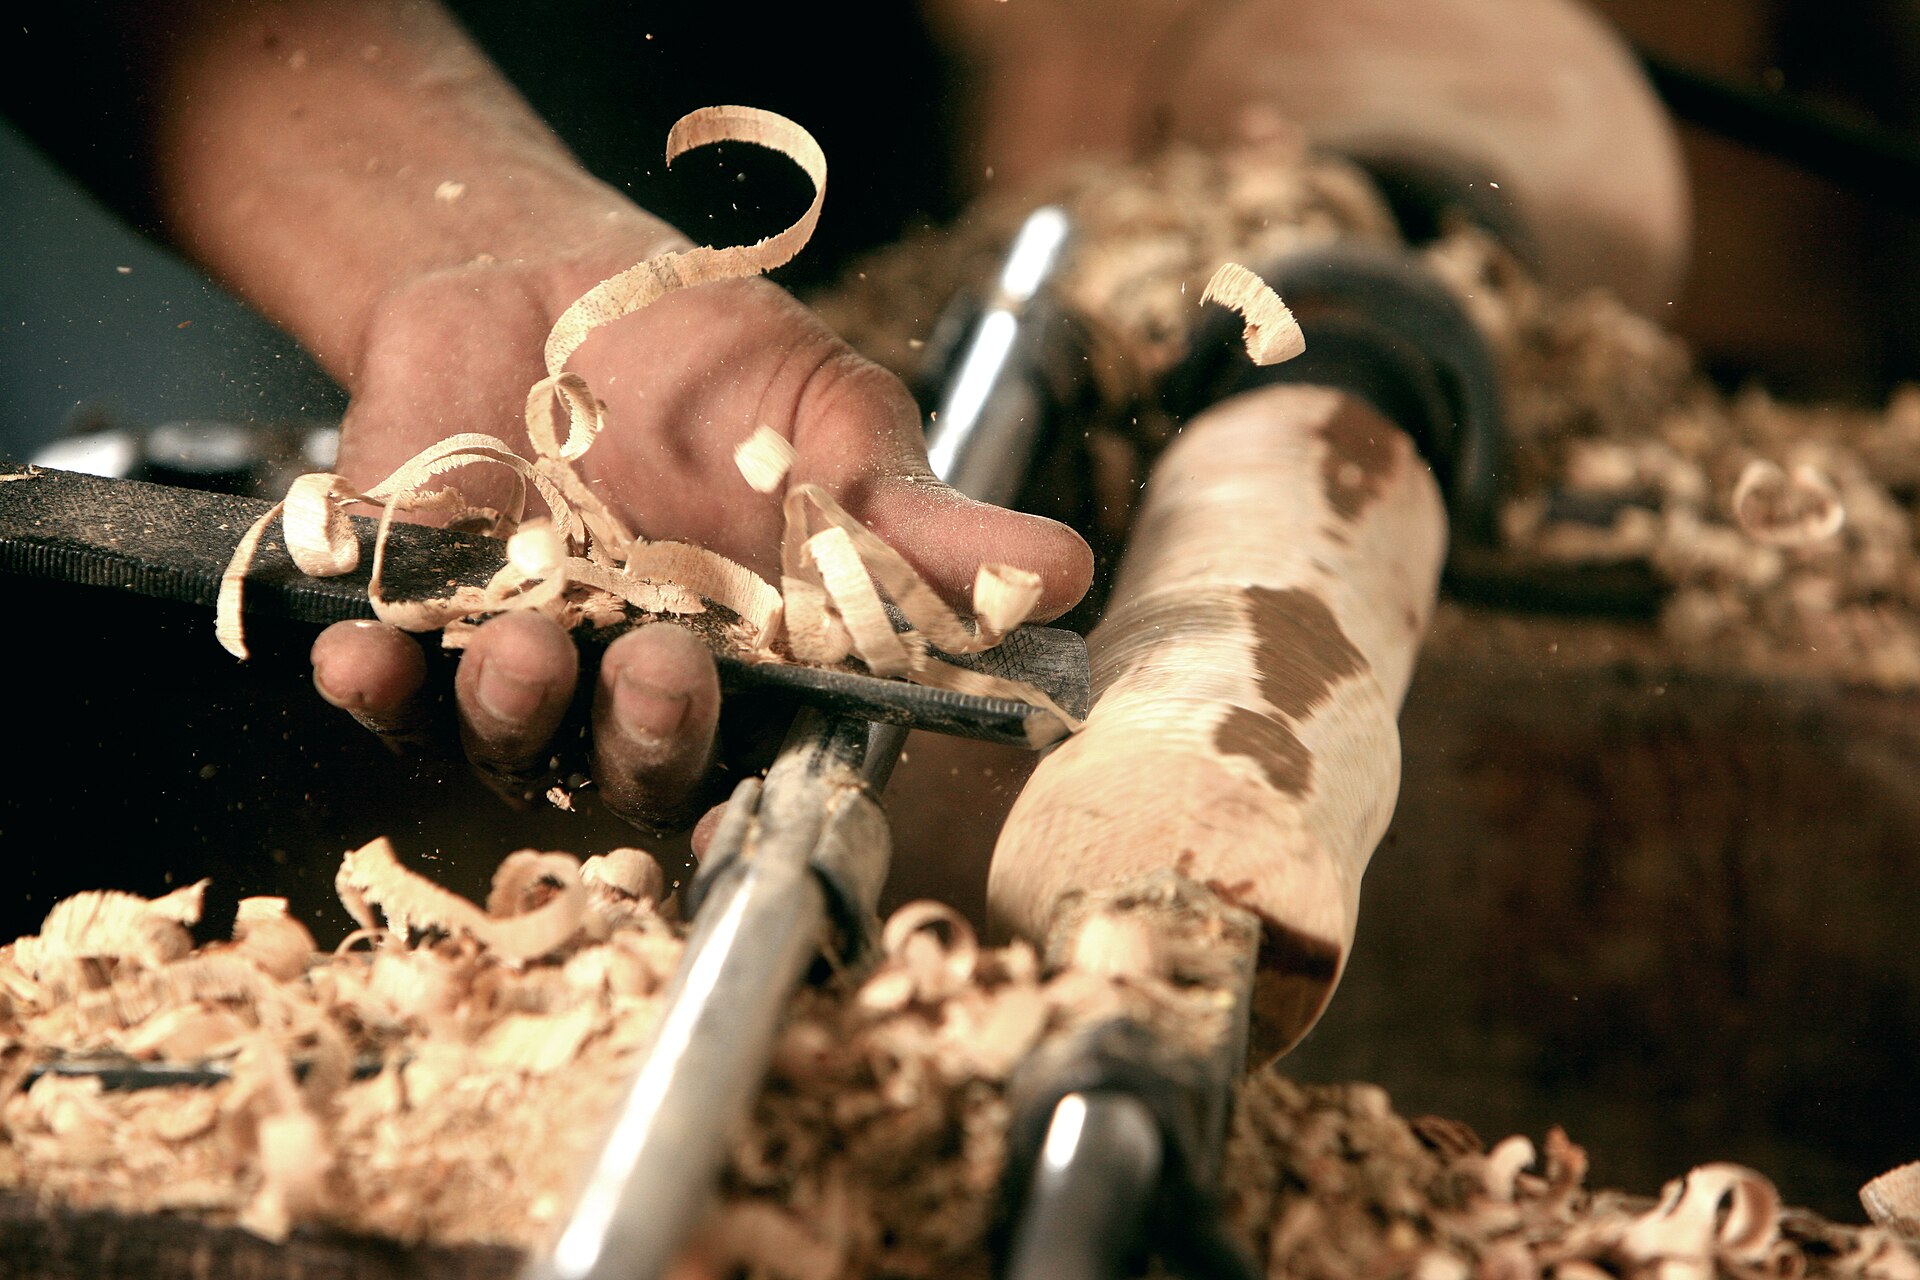
At the base of the bowl (the end nearest the faceplate), cut a tenon: a short cylinder roughly 2 inches in diameter and 3/8 inch tall, with a dovetail angle. The tenon must fit the jaws of your four-jaw chuck. Check the jaw specification: a 50mm jaw set closes to roughly 2 inches. Your tenon should match.
Cut the tenon with a parting tool or bowl gouge. Check the fit by offering the closed jaws to the tenon (lathe off) before removing the piece from the faceplate. It should slip over the tenon snugly but without forcing.
Step 4: Transfer to the chuck
Remove the faceplate (lathe off, always). Thread the four-jaw chuck onto the spindle. Open the jaws wider than the tenon diameter. Seat the tenon in the jaws. Close the jaws firmly but not excessively; the dovetail profile locks the piece in place. Add the tailstock for support if the piece wobbles.
Restart the lathe. The piece should run true if the tenon was cut concentric. If it wobbles, stop and re-seat the tenon in the jaws. A wobble in the chuck indicates a poorly cut tenon or a tenon not fully seated.
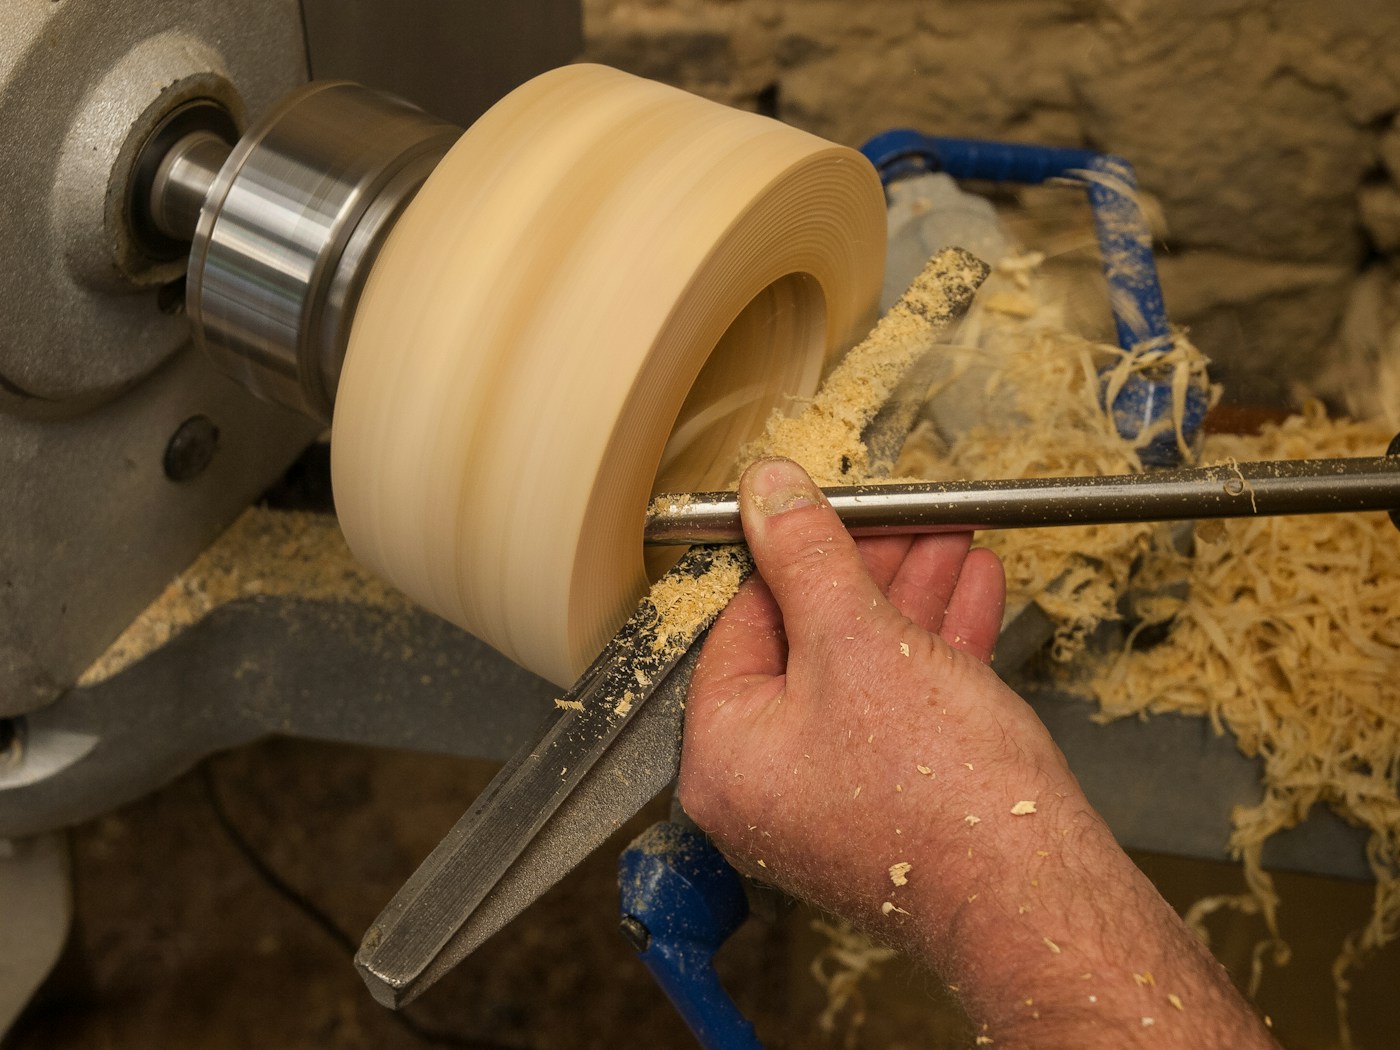
Step 5: Hollow the interior
Remove the tailstock if it is in the way. Set the tool rest across the top of the bowl opening. Start hollowing from the center outward.
The sequence: make a center hole first with a spindle gouge or drill bit to establish depth. Then use the bowl gouge to widen from center toward the rim. Cut from the rim down toward the center (downhill on the inside of the bowl) to avoid catches.
Check wall thickness frequently with calipers. Aim for 3/8 to 1/2 inch for a first bowl. The inside curve should follow the outside curve you established in Step 3.
Leave the base at least 3/4 inch thick until the last passes. The base supports the piece in the chuck; thinning it too early risks flexing or vibration.
Step 6: Sand and finish
Sand in progressive grits: 120, 180, 220, then 320. On a lathe, sand with the lathe running at moderate speed (400-600 RPM for a 6-inch bowl). Use a small square of sandpaper held flat against the surface, moving it to avoid creating concentric sanding marks.
Apply finish with the lathe running slowly. Food-safe finishes (mineral oil, walnut oil, beeswax, or a wipe-on oil finish) are appropriate for utility bowls. Let the finish cure before reversing the piece.
Step 7: Reverse-chuck to remove the tenon
The tenon is waste. Remove it by reverse-chucking: grip the rim of the bowl in expanded jaws (jaws open outward inside a recess in the rim), or use a jam chuck (a wood disc turned to the interior diameter of the bowl, which the bowl jams onto for support). Then turn the base flat or into a foot ring.
This is the hardest step for beginners because the grip method depends on what you have. If you have a large jaw set, the expanded grip works well. If not, a jam chuck made from scrap wood takes 10 minutes to make and works reliably.
What to expect
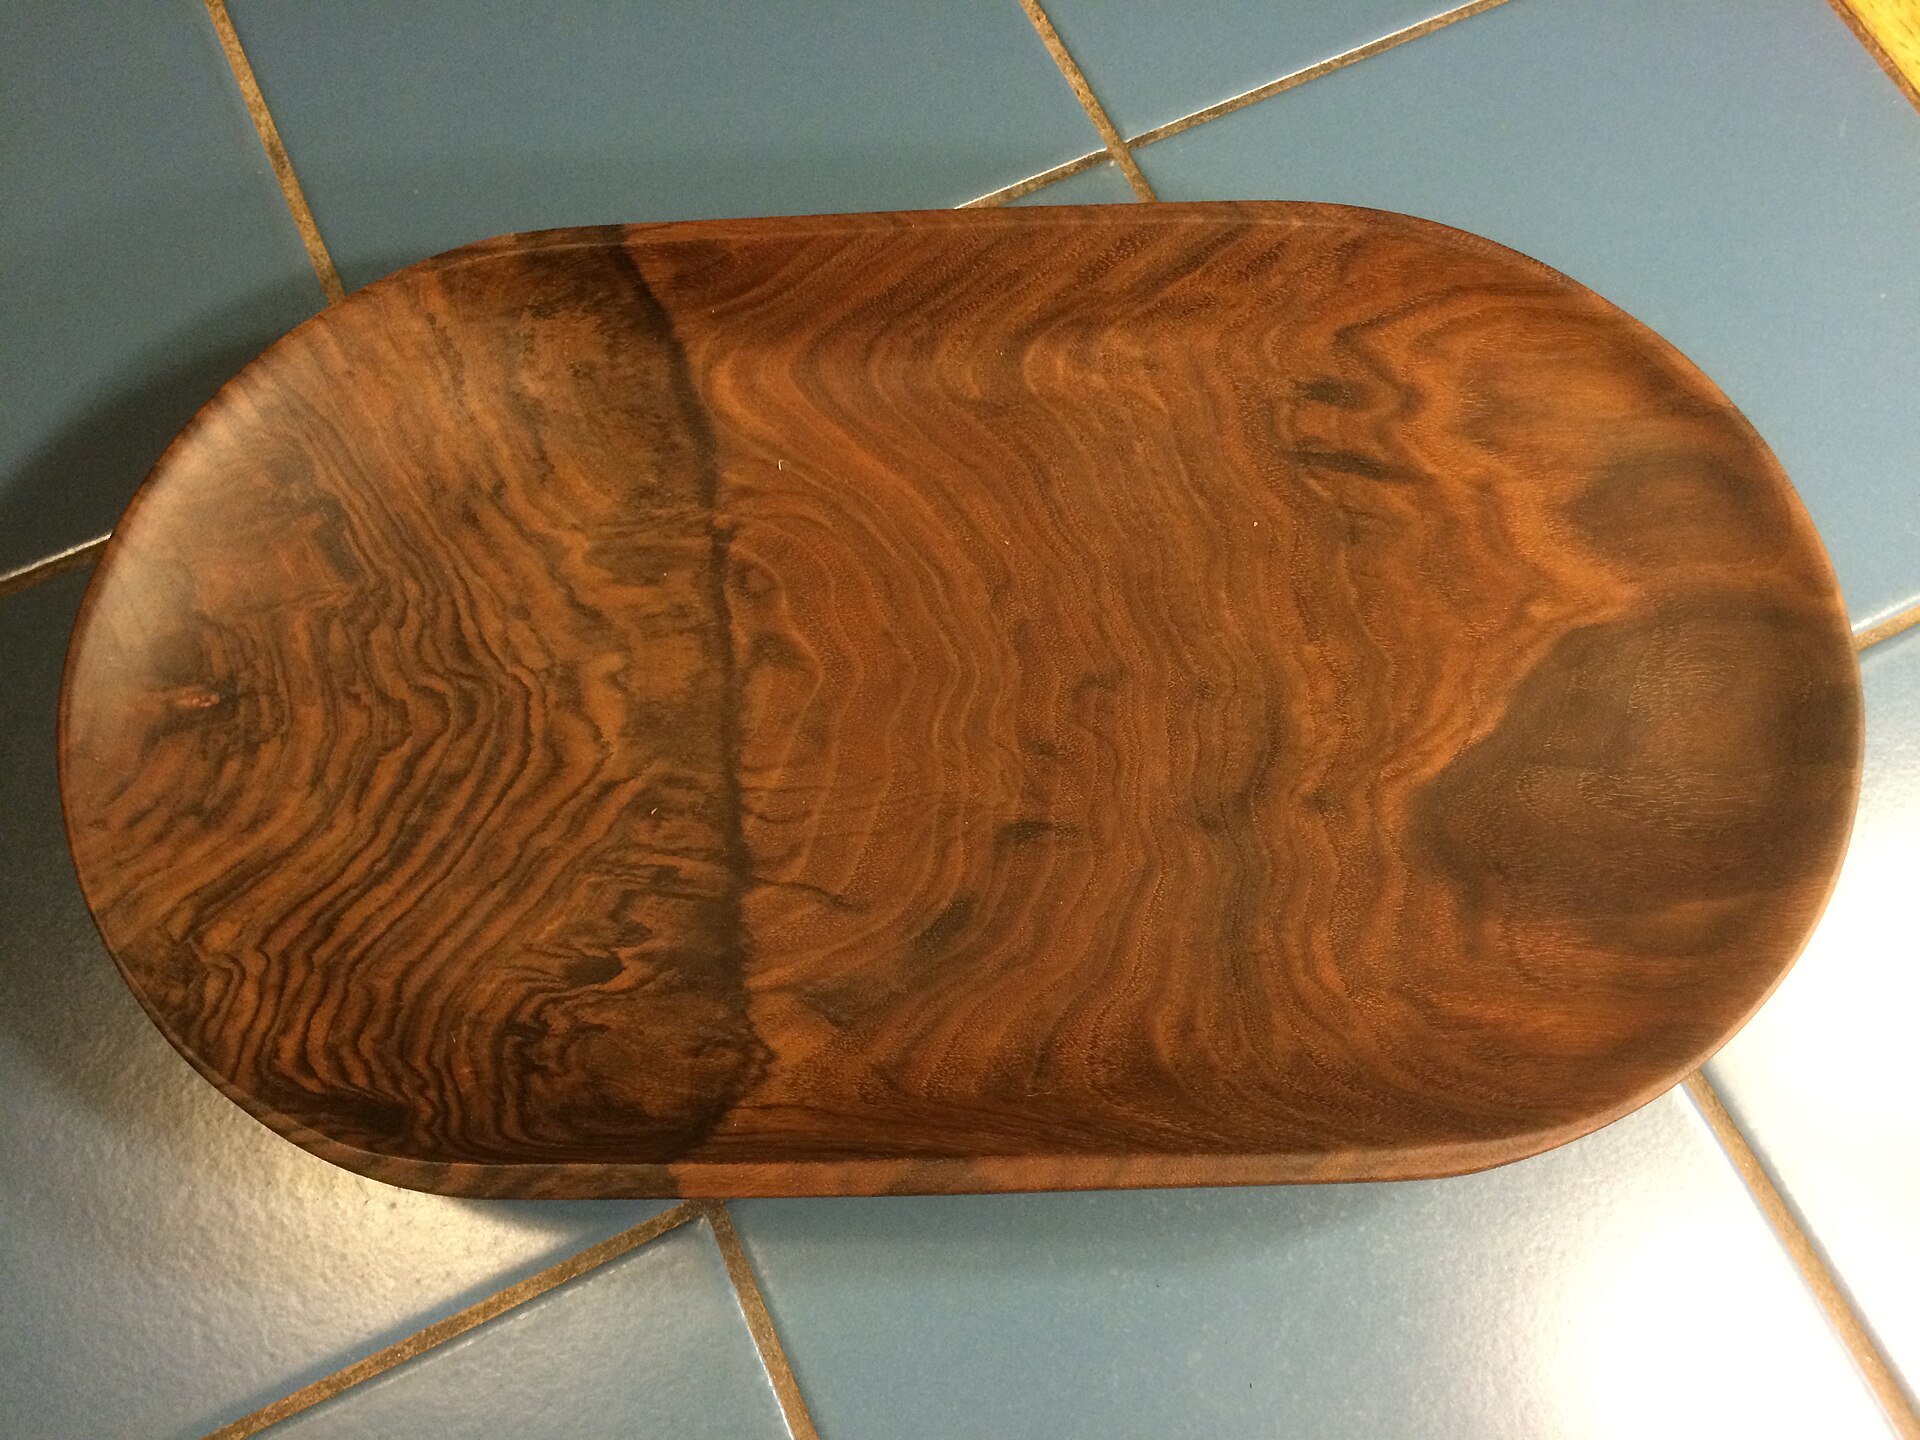
The first bowl will not be perfect. The outside shape may have a flat spot. The wall may be thicker in some places than others. There will probably be a catch at some point, which will leave a gouge mark that you then sand out.
All of that is the process. The bowl teaches the sequence. By the third or fourth bowl, the tool path becomes intuitive. By the tenth, you are thinking about form and grain instead of where your hands go.
The machine does not matter much at this stage. A sharp gouge and a secure blank teach you more than a premium lathe. The WEN 3424T at $369 is an appropriate first-bowl machine. The Jet JWL-1221VS at $990 makes the speed control smoother. Neither makes you a better turner; only turning bowls does.